Modifying And Adjusting The Suspension On A Can-Am UTV For Optimal Performance
Oct 6th 2019
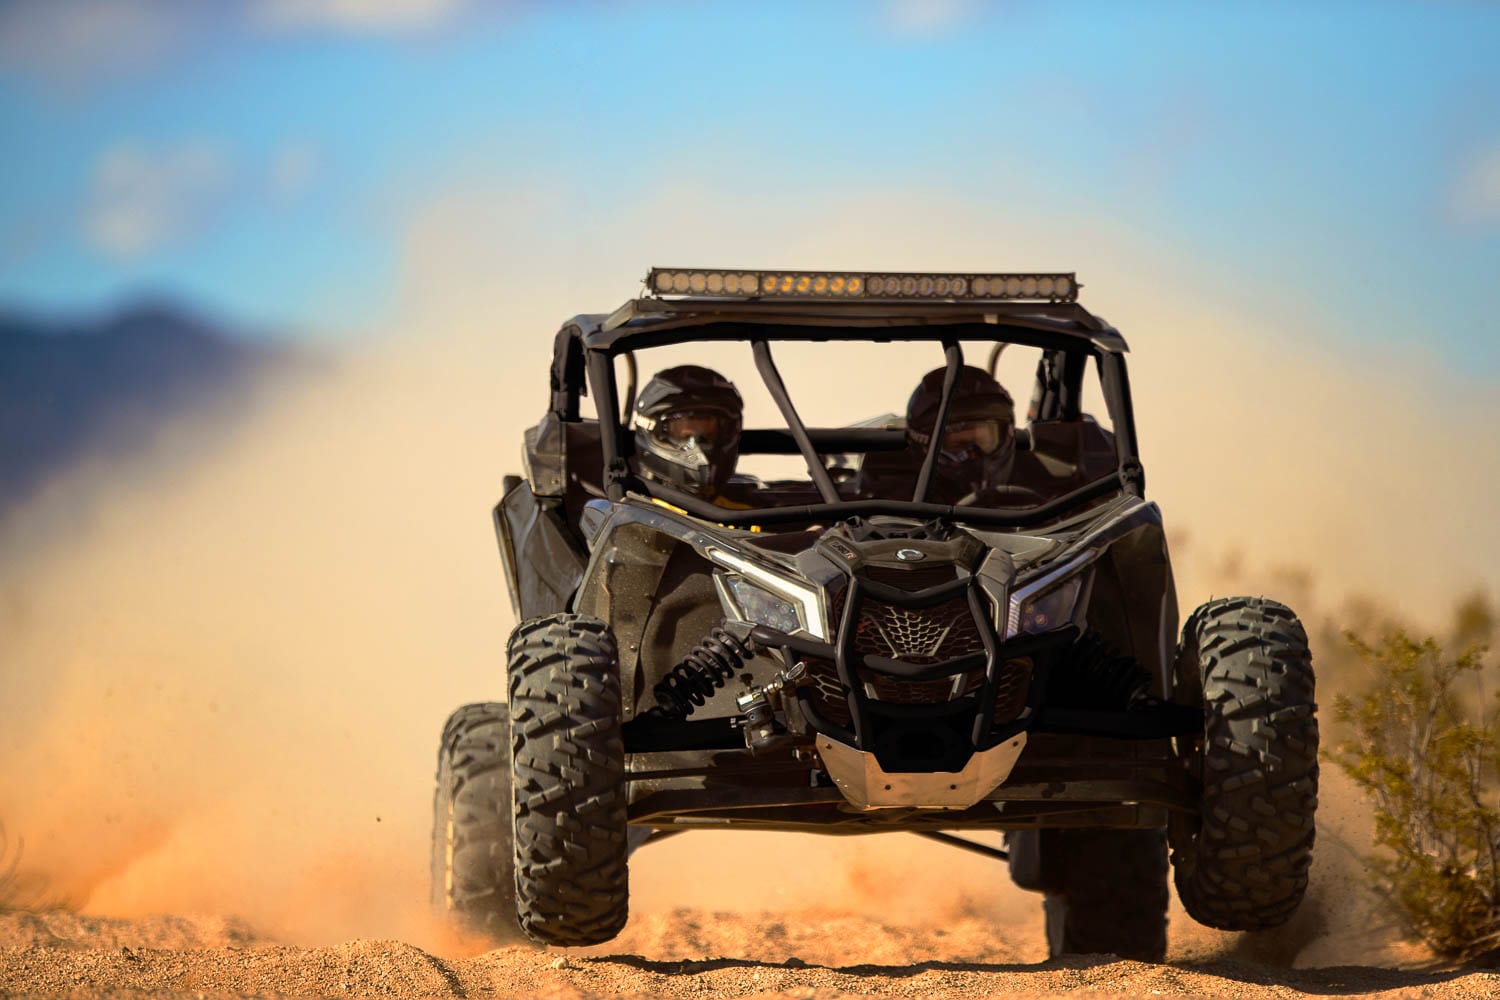
Optimizing the shocks, springs, and suspension setup in your Can-Am side-by-side is critical if you want that perfect ride. But the shock settings you run on your Can-Am UTV -- and even the type of shocks you use -- will depend on the type of riding you do. It doesn’t matter if you have the Can-Am Defender, the Can-Am Maverick, or the Can-Am Commander, if your vehicle's suspension designed to perform well on the terrain over which you ride on, you’ll be way happier in terms of performance and much more comfortable behind the wheel. So buckle your 4-point harness, start your engine, and get ready, because we’re about to dive into everything related to Can-Am suspension systems!
Adjusting Your Can-Am Suspension
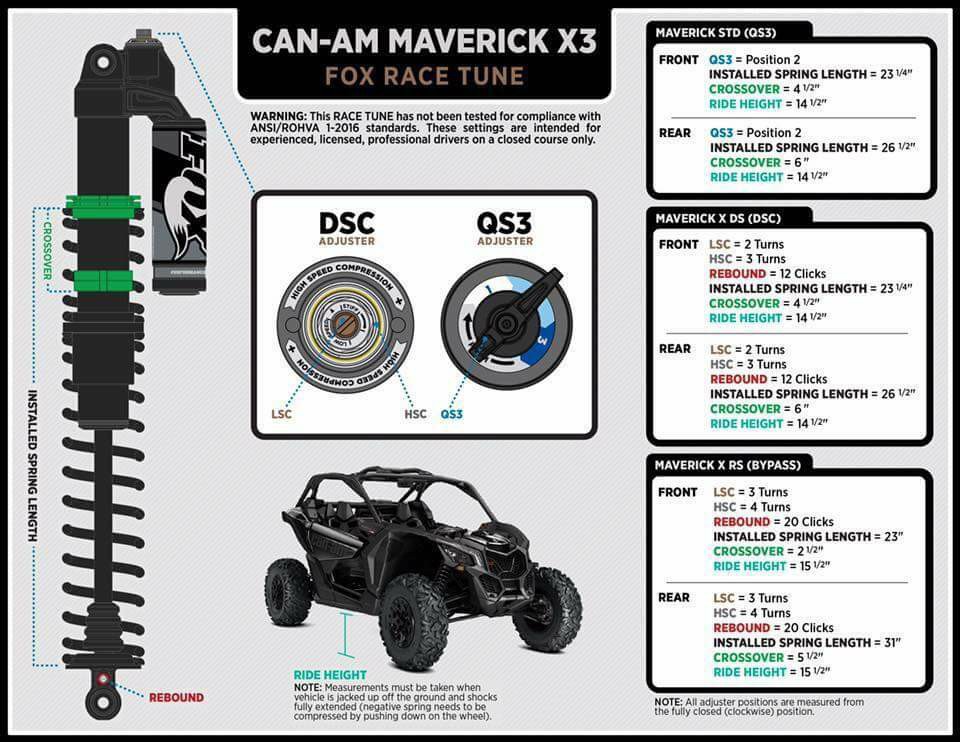
The biggest reason some Can-Am editions -- and especially the Can-Am Maverick X3 -- ride rough from the factory is because their shocks are set too low. As the shocks collapse downward, the valving inside makes them stiffer and stiffer to avoid bottoming out. When riding trails, if you want it to smoothen out your suspension, your Can-Am must be riding in the upper end of the shock, which means the ride height is going to have to be raised. We got ahold of the race settings for Fox Shocks, and they require a substantial amount of raising, adjustments in the slow / fast settings, and alterations in the rebound settings as well. We have found that by making some simple tweaks, you can improve the ride quality of your UTV by leaps and bounds. After the appropriate adjustments, your Can-Am suspension will be extremely smooth for trail riding, and exceptionally responsive over whoops at high speeds.
This, however, is not a setup optimized for beach or sand dune riding. A good dune setup is going to require you to lower the crossover so that you get into the stiff section of the spring early enough to keep it from bottoming out over larger jumps. You'll also want to play around with the slow and high-speed adjustments to make your Can-Am suspension’s response tighter. Keep in mind that the spring height measurement must be taken with the wheels off the ground when the shocks and other suspension components are fully extended. Sometimes, gravity alone isn't enough to pull the shocks down, so you might have to put some weight on them or have somebody hold each wheel down while measuring.
Take note, though, that the XDS shocks on the Maverick X3 are not position sensitive. They do not get stiffer with a lower ride height like the XRS and other vehicles that use internal bypass shocks. Raising the ride height of XDS-style shocks transfers the main spring weight further away from the crossover. Although this is not exactly the same as repositioning non-XDS shocks, it produces similar ride-softening results.
Of course there are far superior spring kits and valving options for all vehicles and editions of the Can-am UTV lineup. But the truth is that not everyone can afford a high-dollar suspension setup, so knowing the suspension settings on your Can-Am machine will help you turn your existing suspension into something that better suits your needs. Some Can-Am riders will drive over whoops at 60+ miles per hour, while other Can-Am riders stick to smooth trails and backroads. But what’s the point of getting a machine like the Can-Am X3 Turbo to only creep slowly around graded dirt roads?
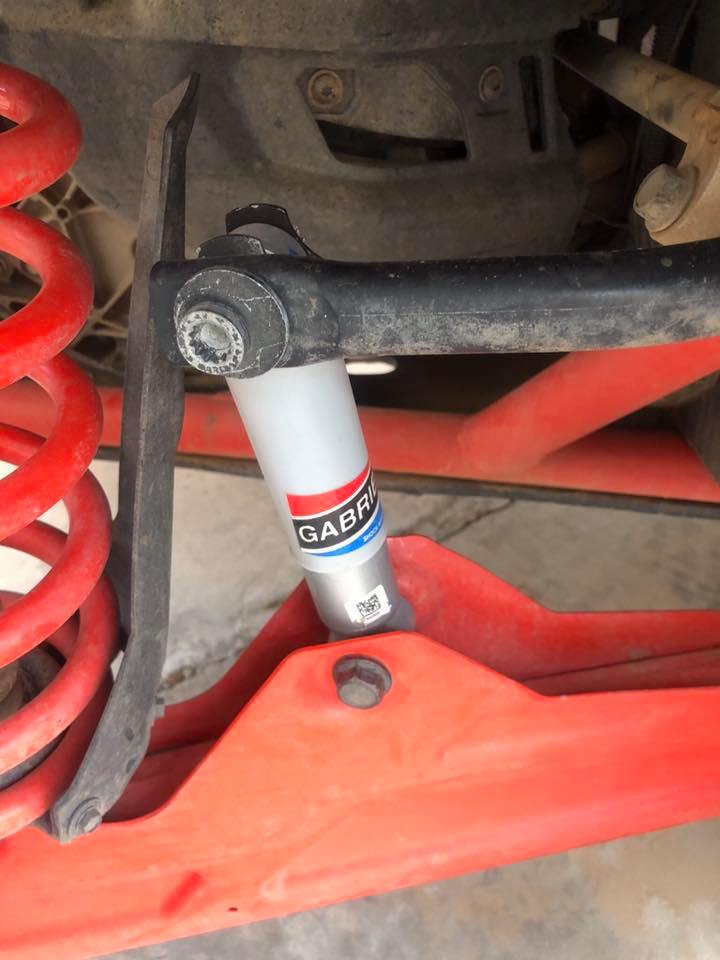
It’s also important to note that even the stock suspension settings of the same exact machine are all over the place from the factory. We’ve seen Can-Am side-by-sides on the dealership floor with the shocks on the slider, and others with the shocks 3 inches away from the slider. This can lead to dangerous and unexpected scenarios, especially if one of the suspension is set differently in one corner than it is on the vehicle's other three corners. But either way, if you want to change your ride but can’t afford new Can-Am springs let alone a new Can-Am suspension system, adjusting your Can-am suspension is a great and free option to try.
Optimizing Your Can-Am Suspension For Jumping
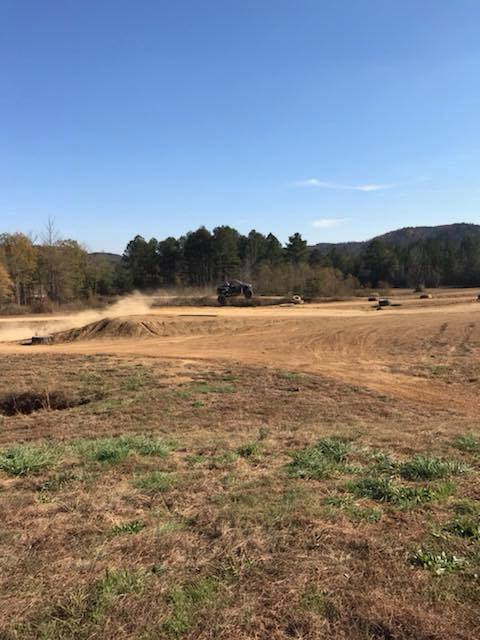
If you’re looking to optimize your Can-Am suspension for jumping, but you don’t want to send your old shocks away to have them redone, there are a few adjustments you can make to the shocks to keep your back end from bouncing upwards during takeoffs. You can try to remove the tender springs (top spring) on each shock and crank down on the lower springs. Alternatively, you can order new Eibach springs for unmatched performance. For the X3, you can take out the middle of the three springs, torque down the top tender spring, and loosen up the bottom spring. Most jumpers will tell you that being level when leaving the lip of the vert is crucial. And if you rarely visit the woods and use your Can-Am exclusively on the flat track and oval, you likely don’t need your suspension optimized for trail riding, rock crawling, or hill climbing.
Can-Am Suspension Conclusion
We’ve been told that BRP's Can-Am factory intentionally lowers the shocks for shipping purposes, and that they should be adjusted once delivered to the dealers. The truth is, however, that not all dealerships are diligent enough to do so. Lowering the Can-Am shock settings is also done to place the vehicle lower to the ground for new side-by-side owners, which reduces the likelihood that they roll the vehicle on their first ride. Either way, all Can-Ams need the ride height adjusted before being driven, so knowing how to adjust your Can-Am suspension is important -- the ground clearance specs post adjustment can be found in the owner's manual. And adjusting the Can-Am Maverick, Commander, and Defender shocks isn't hard. All you need is a ratchet strap to compress the springs, and a jack to lift the machine up. It's bit time consuming for sure, but not hard at all!

