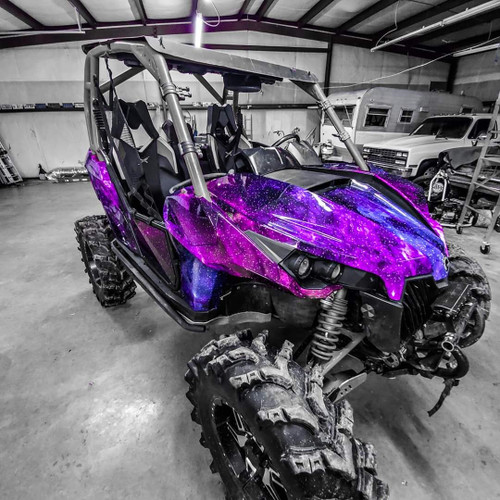
Personalizing The Exterior Look And Feel Of Your Can-Am Maverick
Jan 29th 2021
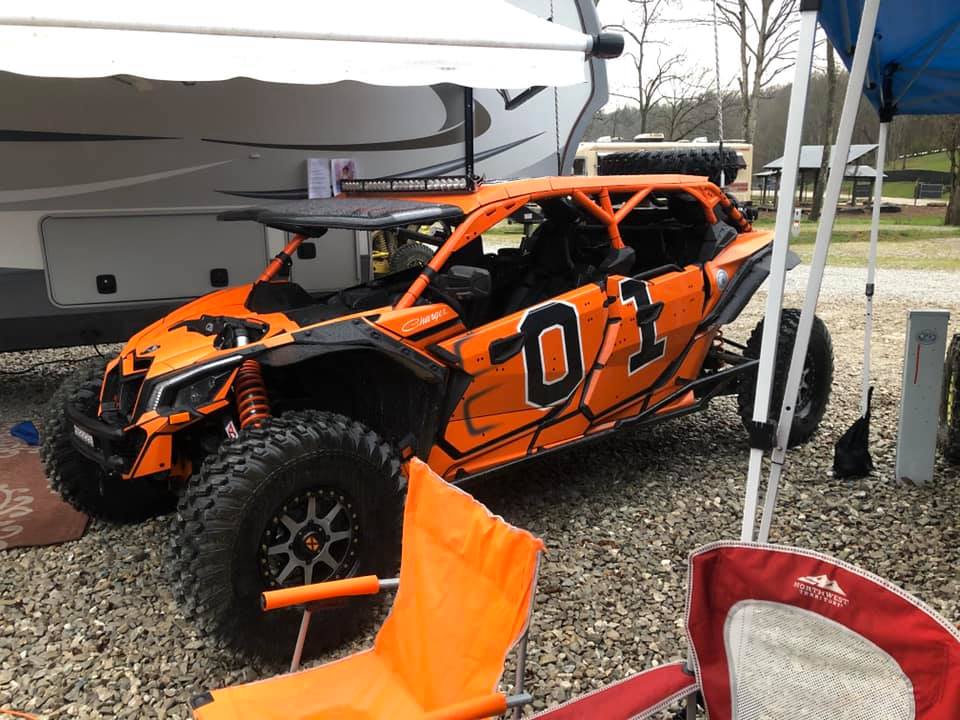
Whether you’ve got the Can-Am Maverick 1000R, the Can-Am Maverick MAX, or the Can-Am Maverick X3 Turbo, there are various ways to go about customizing your rig to fit your own personal beauty preferences. You can paint your bike to match the color scheme of your wife’s machine, or wrap your bike to give it a distinctive look. When it comes to personalizing your Can-Maverick exterior, there’s are several ways to go about it!
Painting Your Can-Am Maverick Exterior
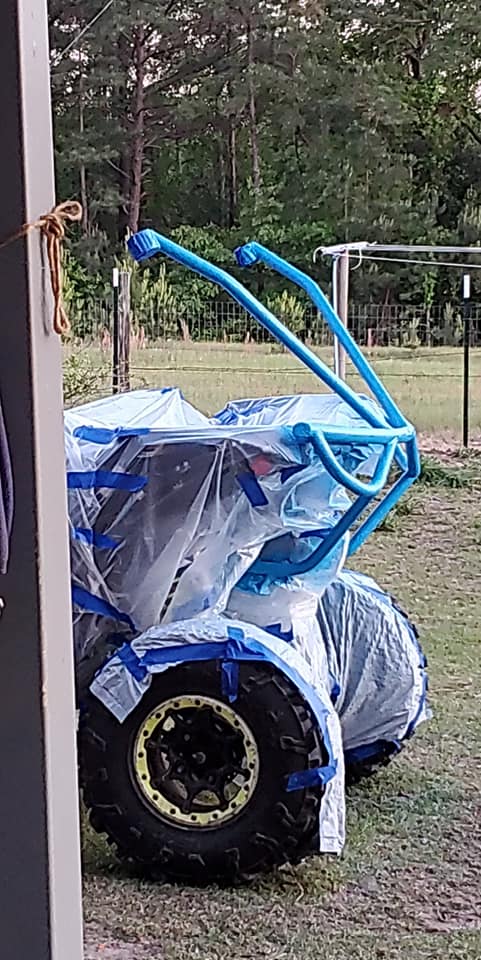
Some riders like to paint the bumpers, nerf bars, roll cage, and other metal components of their Can-Am Maverick exterior, while others go big and paint the plastics / body panels. And although touch-up painting projects are relatively simple and straightforward, painting the entire vehicle is a little more involved. Regarding touch-ups, the most difficult thing is finding a paint that matches the factory BRP colors.
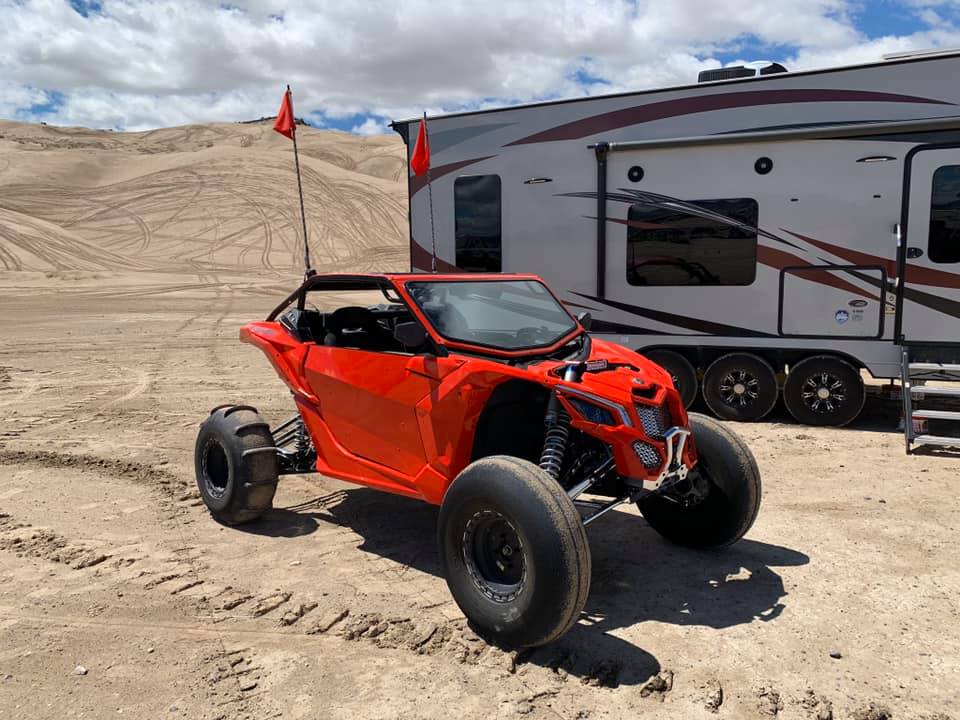
Rustoleum Key Lime spray paint from Home Depot is a pretty good match with the Manta Green used on the Can-Am Maverick Turbo, and if you’re looking for a touch-up paint to use on the factory X3 roll cage, black Rustoleum truck bed coating is a dang-near perfect match in terms of both color and texture. For exact matches, finding the correct paint code is crucial. Below are the touch up paint codes for the Can-Am Maverick. But it should be noted, however, that fading from the sun, years of abrasion from dust and sand, as well as other factors can alter the color of your UTV, causing the correct touch-up paints to not match spot-on.
- Can-Am Red: B-101
- Carbon Black: B-322
- Circuit Yellow: B-349
- Darth Vader Black: B-323
- Dazzling Blue: B-437
- Hyper Silver: B-282
- Liquid Gold: B-409
- Manta Green: B-357
Touch ups are one thing, but painting your entire Can-Am Maverick exterior is a significantly more difficult undertaking. Applying the paint itself isn’t the time consuming part, the preparation work is. Ask a professional and they’ll tell you that it’s 90% prep, and 10% actual painting. If you want your Can-Am Maverick body to look like glass, you’re going to have to sand, sand again, and then sand some more to get it smooth. Using a sandblaster can help with this, and even if you don’t care about the texture, you’ll need to scuff / etch everything up nice and good so that the paint will bond properly.
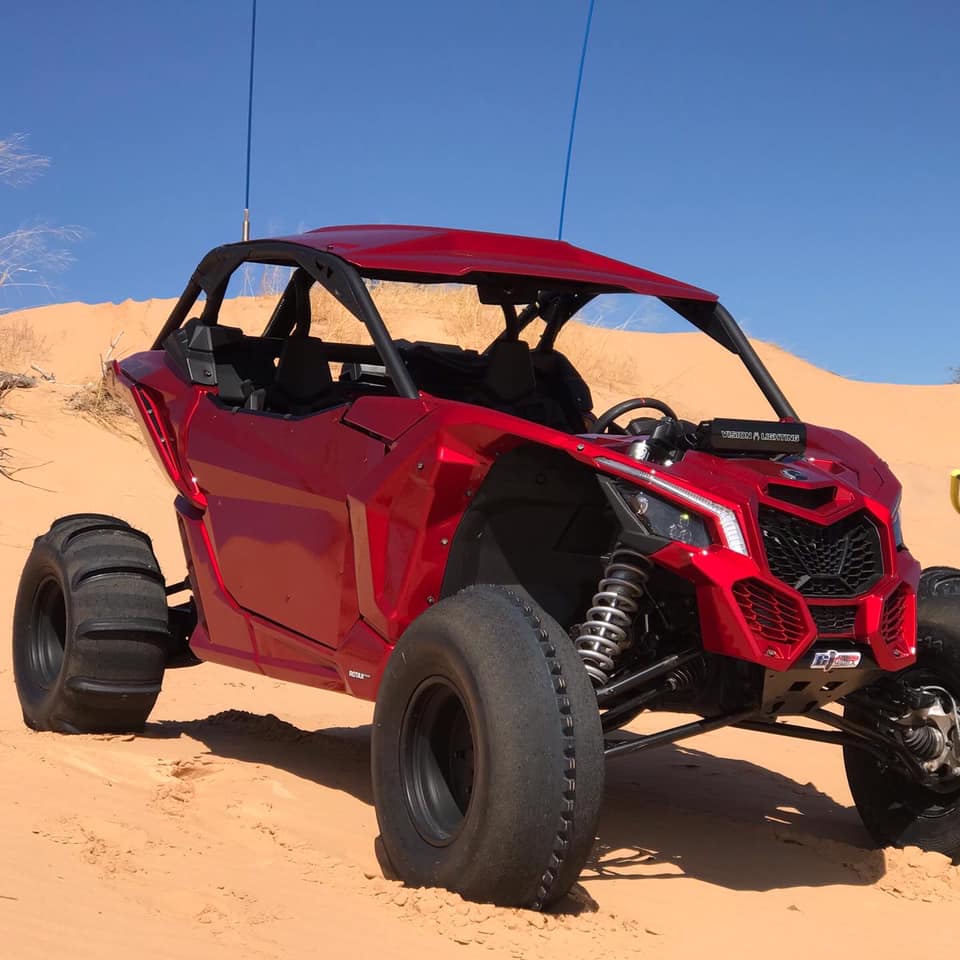
The first coat you’ll want to apply is a plastic adhesion promoter -- BullDog works well for this. You can then apply filler primer and sand some more until the panels are at your desired smoothness. After that, any old automotive paint will do, just make sure that you incorporate copious amounts of flex additive into the mixture to better high-intensity situations.
Unlike with vinyl body wraps (which we’ll touch on later), if you use a final clear coat after painting your Maverick, you can almost always buff out any scratches or scrapes that develop over time. And even if you don't buff them out, so long as you follow proper painting protocol, not even the deepest of gashes will cause the surrounding paint to peel! One thing to note with full paint jobs, however, is that they can take a while to fully cure. So if you’ve got an upcoming weekend ride planned, you might want to hold off with your paint project until you have around 5-7 days to let the paint settle in.
Wrapping Your Can-Am Maverick Exterior
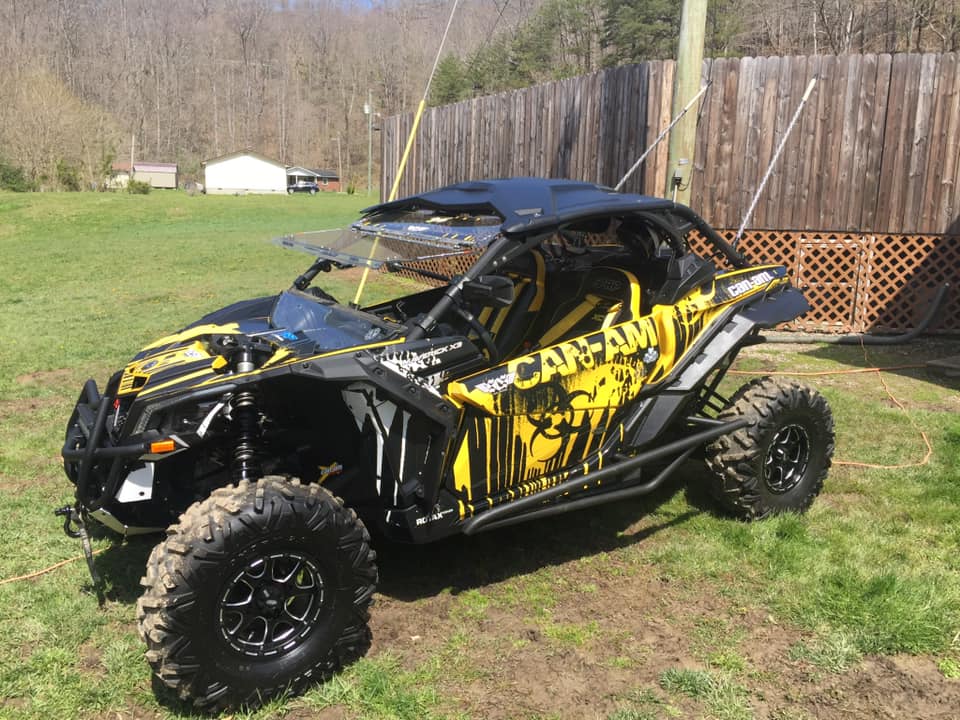
Although the impetus behind UTV wrap installations is often similar to that of paint jobs, the installation process and final outcome couldn’t be further apart. There are many ways to approach a Can-Am Maverick wrap. There are shops around the nation that design and install custom side-by-side wraps, but you can also buy side-by-side specific graphic kits online or simple rolls of stick-on vinyl material from places like Metro Restyling.
A 5ft by 35ft sheet of vinyl should be enough to cover a 2-seat Maverick, with a little extra to spare in case you mess up. Unlike with painting the Can-Am Maverick exterior, you don’t have to use adhesive promoters when you put on vinyl wraps. Instead, professional wrap installers tend to use mini propane torches on the non-painted plastic sections, then hit the entire surface of the wrap with a heat gun after it has been applied. And to prevent the perimeter from peeling back, you can fold extra vinyl over the edges and use 3M edge sealer 3950 for better protection and a longer lasting wrap.
Closing Remarks
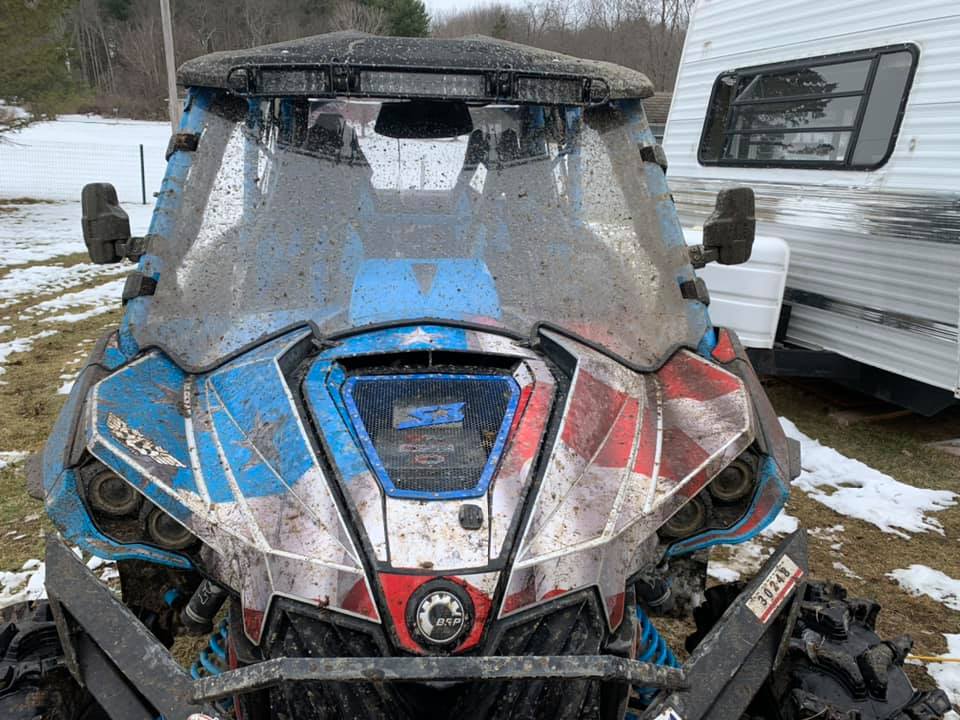
Everyone’s got their own opinion about Can-Am Maverick exterior alterations. Some deem them to be unnecessary, while others are staunch proponents of either paint or vinyl wraps. When it boils down to it though, the only opinion that matters is your own. So be bold, brave and beautiful, and do what makes you happy with your Can-Am Maverick exterior!

