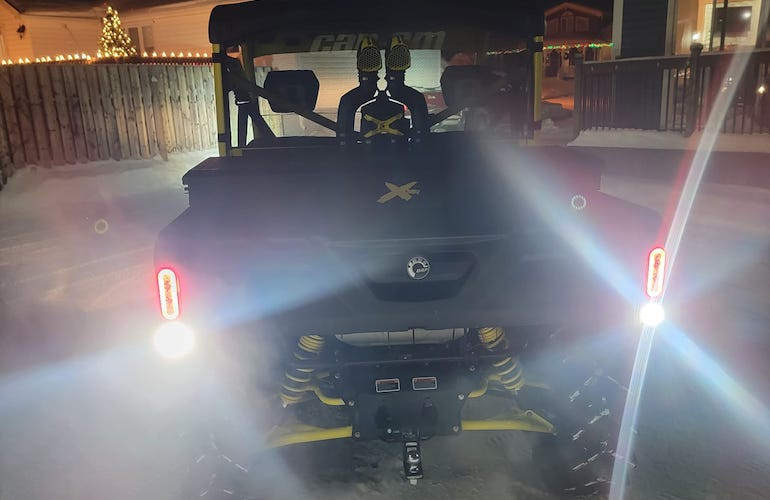
Aftermarket Can-Am UTV Lighting Options And How To Wire Them In
Aug 30th 2022
The factory Can-Am Defender, Commander, and Maverick headlights / tail lights are good enough for those who stick primarily to daytime riding; but if you find yourself riding late at night or early in the morning, you’ll likely be wanting more illumination than your stock Can-Am lighting setup can provide. For technical trail riding and crawling in situations where visibility is low, rock lights, wheel well lights, and underglow lights will help you find the optimal line. And for added safety on irregular terrain, whip lights will ensure that you’re seen by other riders before it’s too late! Products like spot lights and mirrors with built-in green / red LEDs are great for hunting / fishing applications, while flood lights and scene lights are perfect for illuminating campsites and construction areas. The importance of interior UTV lighting is obvious, and multi-use accessories like rear chase lights can be used as everything from reverse lights and brake lights to turn signals!
Not every rider will need every kind of off-road light – and unless you’ve got a dual battery setup, running multiple lights in conjunction with accessories like winches, stereos, and communication equipment might be infeasible. But if you’re unsatisfied with the limitations of your rig’s illumination, here are some aftermarket Can-Am UTV lighting options as well as a few tips to help you hook them up!
Can-Am UTV Light Bars

The most popular type of aftermarket lighting products for Can-Am 4x4s – and most side-by-sides for that matter – are light bars. For long-range dispersion, roof-mounted light bars are the way to go. And you can give your light bar some added protection by mounting it underneath the lip of your vehicle’s roof with the right light bar brackets! Or, if you want to cast light downwards onto the ground ahead of you, bumper-mounted light bars are an excellent choice!
Light bars for the Can-Am Maverick, Defender, and Commander come in many shapes and sizes. You’ve got your standard straight options like the 40” double-row light bar by SuperATV, but you’ve also got curved light bars like the ones by Rough Country, which match nicely with the contours of some aftermarket SxS roofs. Most UTV light bars that are worth a darn incorporate both long-rage spot-style bulbs as well as wide-angle flood-style bulbs into their design; and in this way, they’re able to deliver maximum illumination!
Interior Can-Am UTV Lights

On top of functional in-cab lighting products such as dome lights, glove box lights, and track lights that allow users to see the goings on inside the cockpit, accent lights are also sought after by those looking to boost the aesthetics of their buggy. Where functional lights typically broadcast colorless light (aka white light), accent lights use multi-colored LEDs to shine in a specific color, in multiple colors at once, or in an ever-changing flicker of colors, shapes, and swirls!
Dual-Purpose Side-By-Side Accessories With Built-In Lights
A great way to maximize the bang for your buck when accessorizing your Can-Am SxS is to get multi-use accessories with built-in lights. The Halo rear-view mirror by Seizmik, for example, comes with integrated map lights that are adjustable in terms of both color and intensity. Similarly, Seizmik also makes side mirrors with lights in them, and so too does Xprite, TMW Offroad, and SD Lighting.
Mirrors aren’t the only accessories that come with built-in lights. Many under-roof stereo systems also include lights of varying brightnesses, and even light switches themselves can have lights inside them so that they’re easy to see / operate in the dark!
How To Wire In Can-Am Defender Lights

Although wiring for aftermarket Can-Am Defender lighting is less complex than the stater relay wires, the power window / wiper cables, and the wiring for smart lok front differentials, it can still be a tad tricky to install lights in the Can-Am Defender. Many Defender owners choose to run their lights off the keyed power block / power bus under the middle of the dash. If you fold up the seats, sit on the floor, and look upward through the small “glove compartment” type box, you’ll see wires going to a block with three posts and a snap-on cover – the front-most post being for keyed power. If that won’t carry the load, you can use the block to switch a relay. The middle lug is straight battery power, so you can pull a charge from that and trigger the relay with a wire from the keyed lug. And if you have a bunch of accessories that you plan on installing later on, you can even run a bus bar off it into the front compartment for future use! In addition to the bus bar behind the dash, there’s also one under the hood that is always hot. If you want your lights to be on even if your vehicle is off, this is where you can wire them.
Wiring Your Lights To A Secondary Battery

A number of riders like to run their lights and other items on a secondary battery, which leaves the factory battery for starting purposes only. Most secondary UTV batteries come with a small power distribution block that is used for constant 12v, keyed 12v, and ground. This allows for the wiring of items like LEDs, stereos, and winches so that they're always on and a key is not required for use. Wiring things up this way also allows for all the accessories items to run until the secondary battery dies, leaving the primary battery fully charged to start the motor. Then, once the machine is on, it'll charge the secondary battery back up as the isolator is connected to the keyed-on 12v post behind the ignition.


