How To Repair / Replace Your Can-Am CV Joints
Feb 27th 2021
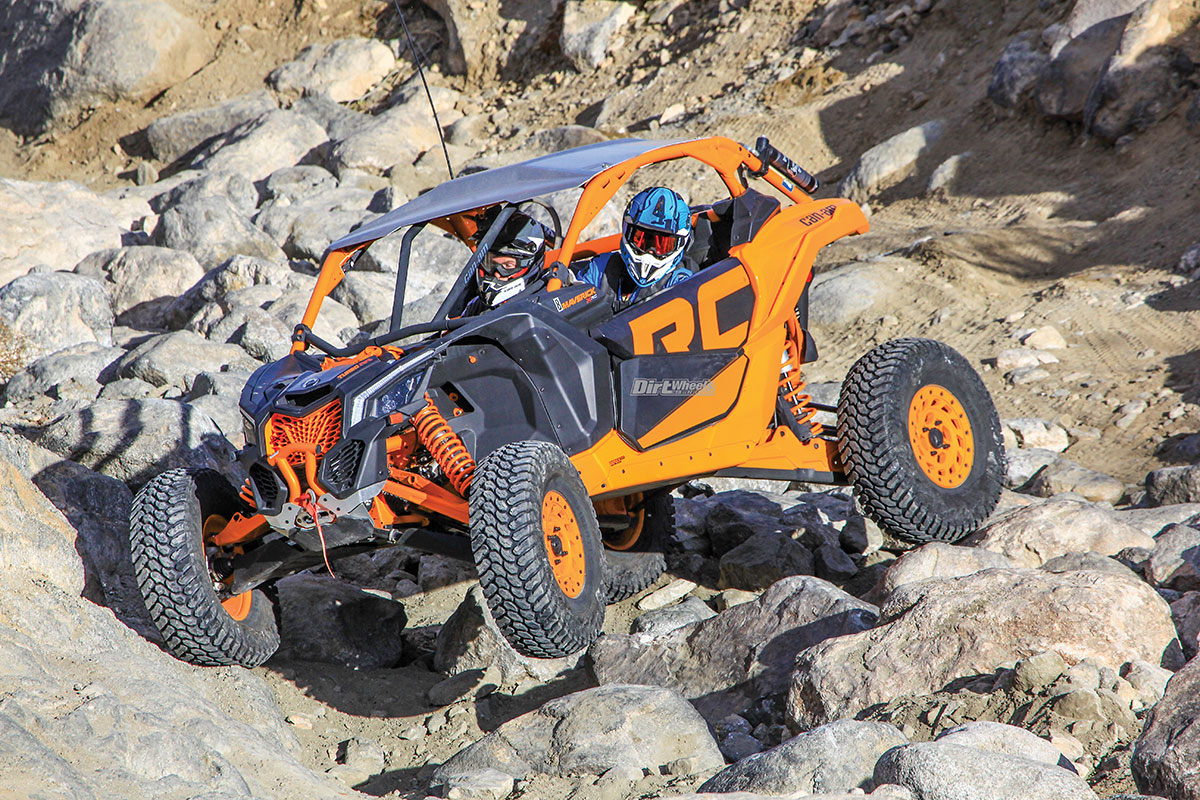
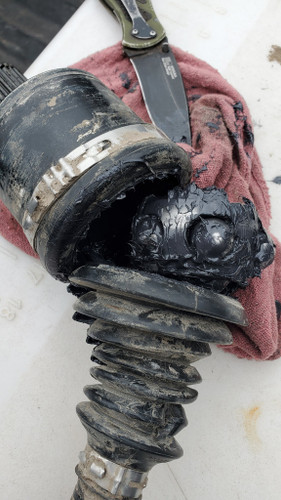
If you ride hard enough for long enough, chances are that you’ll need to repair or replace a CV joint, CV boot, or an entire axle in your Can-Am Maverick, Can-Am Defender, or Can-Am Commander at some point. And while replacing axles and Can-Am side-by-side CV joints isn’t the hardest thing in the world, it can be quite difficult in the field when you’re lacking proper tools. And depending on which Can-Am UTV you own, it might be cheaper to buy a completely new axle assembly with both CV joints rather than replacing an individual Can-Am Maverick, Commander, or Defender CV joint / CV boot. But regardless of whether you need a temporary CV joint fix in order to limp back to the trailhead, or a proper CV joint replacement to keep the good times rolling for years to come, here is how to repair / replace your Can-Am CV joints!
Can-Am UTV CV Joints And Boots: Things To Consider
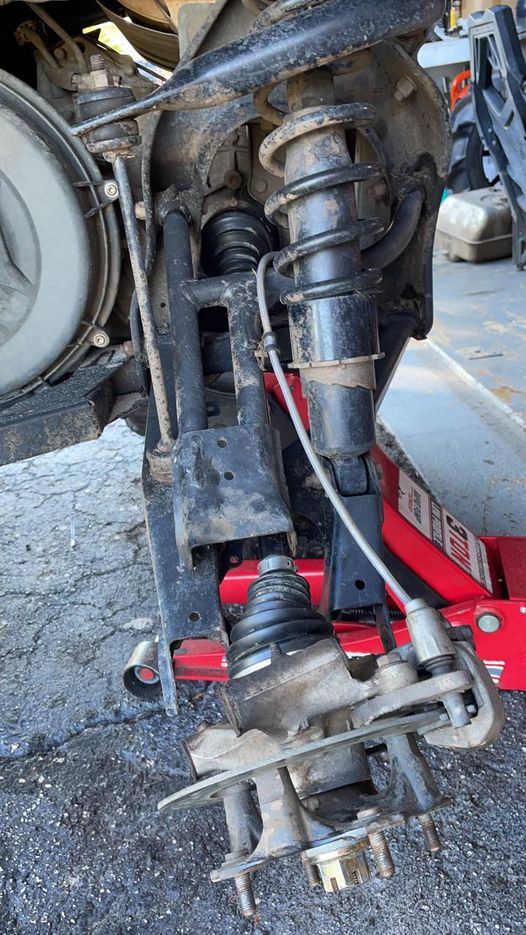
In some cases, an entirely new axle will be cheaper than buying a replacement CV joint. In other cases, CV joint rebuild kits can be used in lieu of replacement Can-Am CV joints. A complete OEM Can-Am Defender XMR axle, for example, is cheaper than a single OEM CV joint for the XMR. It isn’t very common for people to buy just the joint, and because the CV joints aren’t mass produced like axles are, economies of scale aren’t reached, which makes prices higher. Plus, all the paperwork, shipping, and handling costs associated with replacement Can-Am CV joints are nearly identical to that of replacement axles. That being said, if all you need is a new CV joint boot, getting an entirely new axle might not make sense.
Changing, Repairing, And Replacing Can-Am UTV CV Boots
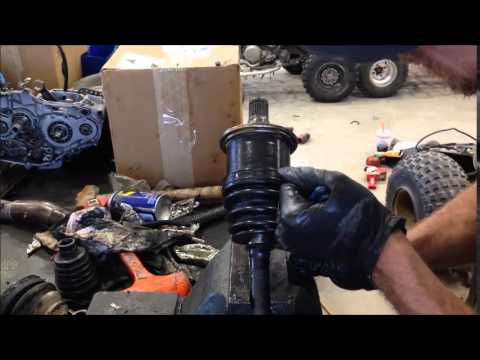
Like with the CV joints, it is much easier to just replace the entire axle instead of having to detach the CV joint and then stretch a new boot over it. But if you have the time, the tools, and the patience, it is possible to replace just the CV boots on a Can-Am Maverick, Commander, or Defender. One of the easiest ways to replace a CV boot on your Can-Am side-by-side is to put the axle in a vise grip and hit the inner part of the CV joint (the part that is on the shaft splines) with a brass punch and hammer. Hit on opposite sides, back and forth, and it should come off rather easily. There is a retaining ring on the end of the spline that holds everything together, but the CV will pop over it with a few happy taps.

CV grease will likely get everywhere when you remove the boot, so you’ll need to put the same amount of grease back into the new CV boot after it’s installed. You’ll need to put a good amount of effort into getting the new boot back on, and many riders use hard plastic funnels and spray lube to get the CV boot to slide into place. Because it is so difficult to replace a CV boot on a Can-Am UTV, most people simply opt for a new CV axle assembly.
Swapping Out Can-Am UTV CV Joints
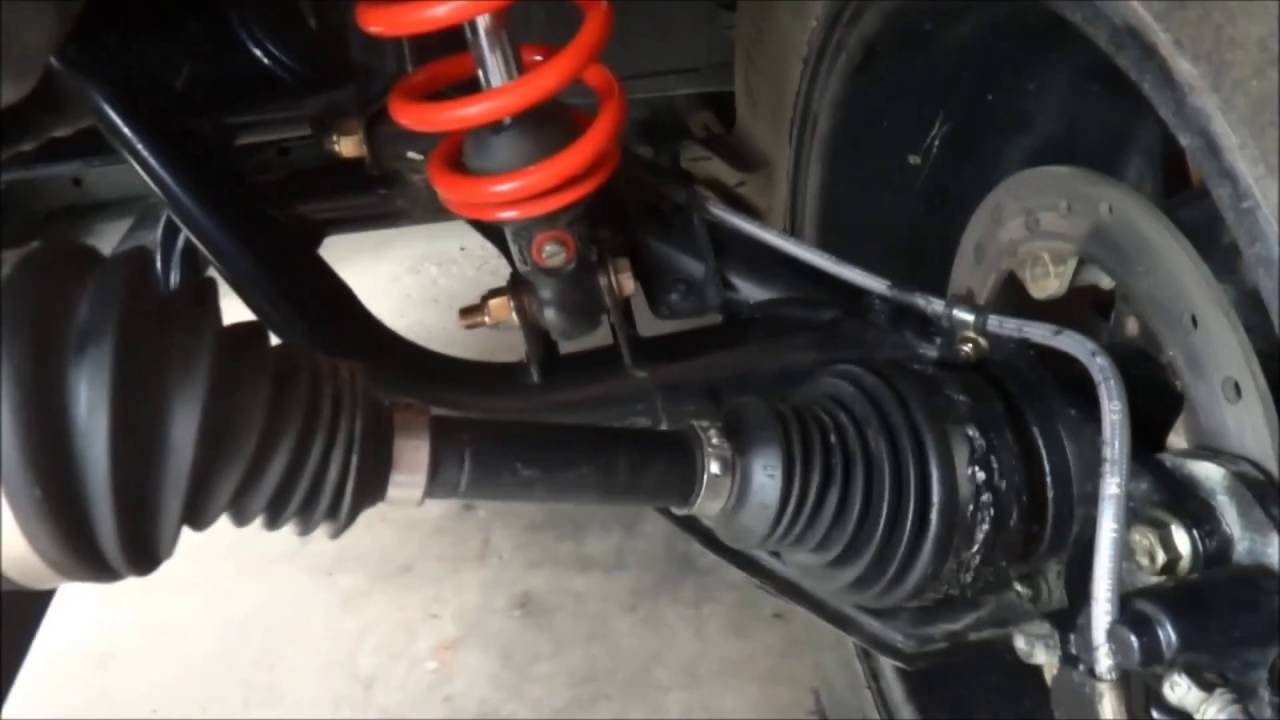
If you’re hearing a lot of clicking sounds emanating from your vehicle’s CV joints, or if a CV boot ripped open and let water in, the time has probably come to replace one or all of your Can-Am CV joints. Although replacing CV joints is easier with a press, a few gentile swings of a hammer will suffice. Stock CV joints are a bit trickier to replace than the CV joints on aftermarket axles, but regardless of whether you’ve got a factory part or an aftermarket part, make sure that there is no dirt in the joint or boot, as even a small dirt fragment or dust particle can destroy an inner or outer CV joint. It should also be noted that not all CV joints / boots will work on all axles. The cups on Rhino Axles, for instance, aren’t interchangeable with other brands. So if you’ve got Turner axles or Cobra axles, you’ll need compatible components.
Instead of constantly replacing CV joints, you might be better off by using limit straps or replacing the locker in the diff with a Smart-Lok, TORQ Locker, or something similar. If you’re running a long travel suspension kit that requires +3 axles and keep breaking them at the snap ring near the differential, running limit straps on your shocks will help you avoid snapping axle tips off.
Trailside Vs. At-Home CV Joint Repairs
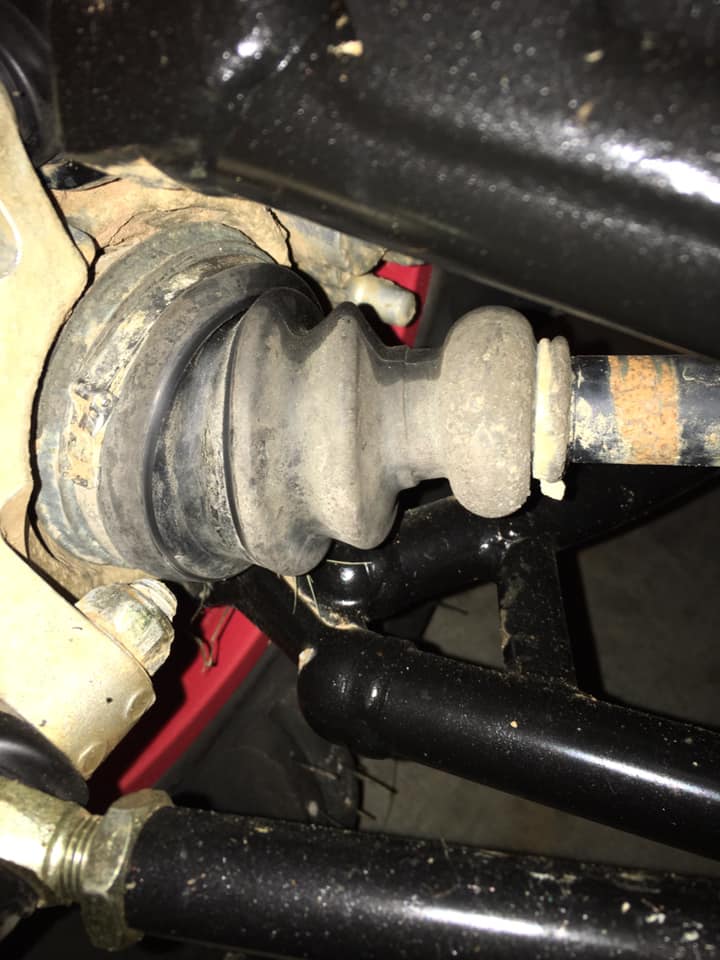
Before you replace a potentially busted CV joint, it is prudent to ensure that the joint is in fact faulty. If you have side to side movement, the wheel bearing might be to blame. Alternatively, if the top and bottom move in and out, a ball joint on the suspension could be the issue. For those in a pinch that need an immediate fix, a 04 Audi TT real rubber rear boot from Auto Zone can work in some Can-Am UTV models. And although inner CV joint pullers and large pry bars can be used to separate the CV joint from the differential housing, few people bring these tools along while off-roading / trail riding.
The rear diffs on most Can-Am UTVs are sealed, but the front diffs aren’t. So if you tear up an axle on the trail and need to pull it out, you’ll need to cut the cup off and shove it back into the differential. You can also rinse the differential case with diesel fuel to remove any crud that’s left behind. For those that don’t ride with pry bars, screwdrivers can work to make trailside CV joint repairs. For best results, however, conducting your axle and CV work at home is advised.
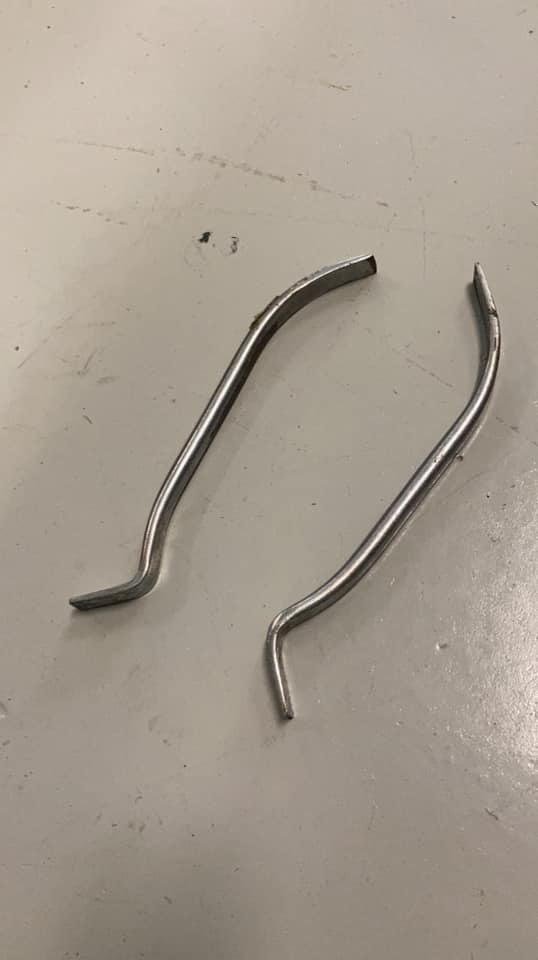
Axle poppers are the best tool to use when repairing or replacing your vehicle’s CV joints. But if you don’t have one, don’t fret. Ratchet straps are often used by Can-Am owners to extract axles, and bearing pullers / pulley pullers can work as well. Getting behind the cup between the CV joint and the differential case is tricky, which is where small pry bars and large screwdrivers come into play. Muffler clamps on a slide hammer should work, and if all else fails, you can use a 1” pipe to drive the axle out from the other side.

